Showing posts with label halloween. Show all posts

10.31.2011

Happy Halloween!!

It's the most wonderful time of the year! The Halloween festivities are coming to an end and I'm realizing that we have a lot of candy in our house! If you're needing something yummy to do with the extras, here are some ideas!

candy bark
shakes with chocolate candy (my favorite is snickers... yum)
smash up extra chocolate bars with graham cracker make crust for a cheesecake or creamy pie
candy corn can be a great centerpiece for thanksgiving dinner

I hope those helped! I decided to make some candy bark for neighbors the other day so I melted some milk and white chocolates, added some candy corn, smashed pretzels and oreos, combined them all and let them set in the freezer. Once it all had hardened I took it out and smashed it!


On any given day the cupboard under my sink looks like this.... empty cans


So I decided to use the Happy Munchies cans because they had colored lids (Stay tuned for more formula can crafts) and turned them into pumpkins and frankenstein-like faces.


Once the cans were completed, I tucked some tissue paper inside and filled them with bark! Yum!


10.27.2011

junk in the trunk

last night we went to a trunk or treat for our church. It is a really fun way for kids to trick-or-treat without the worry. Everyone pulls into a parking spot opens up their trunk and hands out candy! It is a blast and I always looked forward to it when I was growing up. This was the first time that I have ever decorated my own car and it was just so much fun. The whole thing total was under $20. Most of the items I found at Walmart or Target in their dollar sections. I had the little dude in a glow-in-the-dark skeleton costume, Mr L was a vampire and I was a witch so I wanted to make our car kind-of spooky so we all blended in. Of course I didn't take pictures of the whole trunk once we were there so the only picture I have of the whole thing is in broad daylight and a few of the little dude playing with the decorations. I taped a batter blacklight to the ceiling to pop out the spider webs and ghosts and some strobe lights going on which made it a little creepy but still fun. Here is a list of what I got and where in case ideas are what your are needing.

Walmart
blacklight spider webs (.$97)
mini strobe lights (we already had these but I would say
they probably were $3?)
blacklight ($4 - on sale!)
fabric (clearance- $3 for the whole roll!)

Target
ghosts ($1 each)
glowing skull ($3)
skeleton garland ($.99)
green bucket (G's toy basket that I found in the dollar section)


... he looks a little nervous!

10.25.2011

glitter is gold!


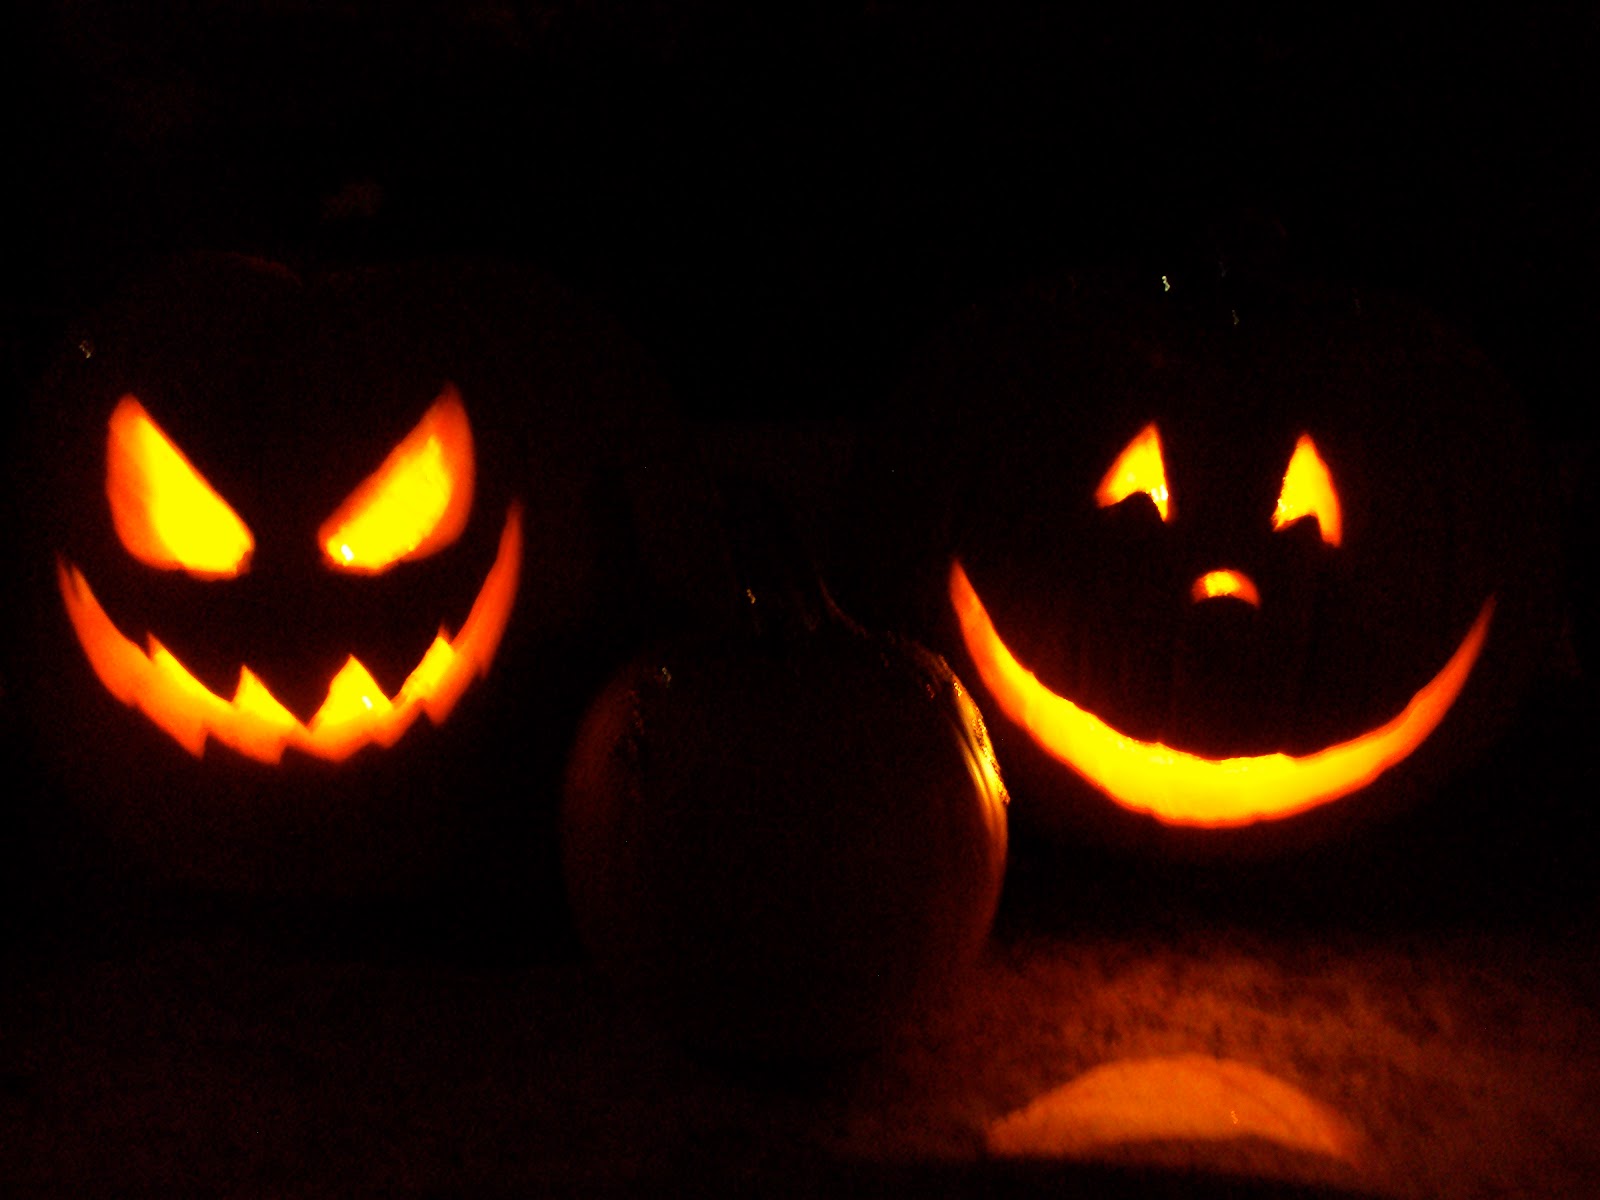
I have a DANGEROUS fascination with glitter. Everything looks better with glitter... glitter.... glitter...GLITTER! As we were carving pumpkins my mind wandered as I tried to figure out how to make my pumpkin look like it was glowing. It's easy to pull off the glowing look in photos but I wanted the light to shine from far away and then came glitter! Pumpkins are super moist on the inside. That's the only thing that keeps them from molding in fact. So I decided to pour some gold glitter all on the inside of the pumpkin and the moisture grabs onto each teeny tiny shiny circle so easily! If the pumpkin dries out, mold starts to grow and the glitter starts to fall. So to keep your guy alive and shining make sure to spray it daily with a bleach/water mixture. Love the way they turned out!


Halloween-ness

It's crazy to think how fast each year has gone by! Normally I like to have a costume that is pretty clever, but this year I think we are going to go with the usual witch theme but here are a few pictures from past halloweens, in case costume ideas are on your mind!

this one is was so convenient to pull off in between bed-rests but still so cute!

pregnant nun and a priest. Ok I know super inappropriate but it was so fun. I got a lot of compliments on how "real" my belly looked.

Taylor Swift and Kanye West. I made Mr. L keep his glasses on all night because his eyes are super light blue and it looked a little freaky when he had black skin. I think this is our favorite costume ever!

10.14.2011

creepy crawly

We are still in Halloween mode over at our house! We've got our fog machine ready, our blacklights out, anything that glows in the dark and lots of candy! I just have a few more finishing touches and then we are good to Ghoul :)

Although the front of our house is cute and grassy with a big tree and stuff, the grass stops and rocks start right were our front door is, which makes it hard to put any of the good ol sticky spider webs. I thought about sucking it up and doing that but it would be so hard to tell that they were spider webs and not dirty spots, so I decided to opt for something that will stand out a little but more. Black yarn!

First you make a right triangle with three strings:


then start in one corner bringing the yarn to the other side:


then from another corner bring yarn across wrapping around each piece of yarn that gets in its way:

These are pretty durable too! They even hold my gigantic glow-in-the-dark spider!

10.10.2011

Double Double Toil and Trouble!

Can you tell I'm so excited about Halloween?! I made some printables to share with all you fine crafters! Just click the link below the photos you like and download. Easy Peasy. Happy Haunting!


10.09.2011

Bippity Boppity Boo

Halloween is just around the corner and I am soo excited! This is hands down one of my favorite holidays! Even when I was living in France I made everyone play games and bob for apples so they could get a feel of the holiday. Let the decorating and pumpkin food anything begin!

...and what is all Hallow's Eve without a pumpkin? It's a bit too early to carve any in this weather so until then I have to come up with an alternative and this is what I've got. We are going to turn

this..........................................into this


The supplies you need are a roll of toilet paper, a fat quarter of fabric, a wooden sponge brush, and old dish towel (optional) and extra fabric and ribbon for the stem and leaves.

First things first if you are using a dishtowel wrap it around the roll, then stick the sponge brush in the center of the tube. Now you can start tuck the fabric around the brush until all the fabric forms a cute little pumpkin shape. I wrapped some dark fabric around the stick of the brush and cut some green fabric to look like leaves then tied a ribbon around it. How simple is that?! I love these things! They are cute and festive and make for great centerpieces or mantle decorations.